Instructions for deploying CRYSTAL v1.0 on a local PC
February 28, 2025
upd: January 15
Contents:
Project structure:
- MongoDB v8.0.4.
- Express.js v4.21.2.
- React v19.0.0.
- Node.js v24.0.2.
- NPM v11.3.0.
- Vite v6.1.0.
Local PC Specifications:
- OS: Windows 11 Pro, hereinafter referred to as Win 11.
- Command line (Windows terminal), hereinafter referred to as terminal.
- MongoDB Compass v1.45.0.
- MongoDB Community Server v8.0.4.
It is necessary to consistently follow all the steps.
1. Installing Node.js, npm and Git
1.1. Install Node.js and npm.
Download and install Node.js. During installation, accept the default values, together with Node.js, npm will be installed automatically.
Next, press - 'Win+R' on the keyboard, then enter in the window that opens:
cmd
Next, press - 'Enter', a terminal will open, enter in it the command below, which will show the versions of Node.js and npm:
node -v && npm -v
1.2. Installing Git.
Download and install Git. During installation, accept the default values.
Check the Git version after installation:
git -v
2. Creating a directory with the project on the local PC
The project will be cloned using GitHub CLI, but you can use other methods (HTTPS, SSH). More about GitHub CLI, installer.
Working with files in this instruction will occur on the drive - 'C'.
Enter the command below in the terminal:
mkdir C:\CRYSTAL && cd C:\CRYSTAL && gh repo clone CrystalSystems/crystal-v1.0
This command will create a folder 'CRYSTAL' at - 'C:\CRYSTAL', and clone into it - CRYSTAL v1.0, from the repository of the project.
3. Installing the MongoDB database
3.1. Installing the MongoDB Community Server.
Download and install the MongoDB Community Server (if the link does not open, use a VPN), in the 'Platform' field, select 'Windows x64', in the 'Package' field, select 'msi. In the installer, select 'Complete' and click 'Next', complete the installation, accepting the default values. MongoDB will be installed at the address - "C:\Program Files\MongoDB", additionally the program - MongoDB Compass should be installed.
3.2. Starting the MongoDB server.
If your version of MongoDB is higher than 8, change the version number in the command below. Check the version number at the address - 'C:\Program Files\MongoDB\Server'.
Enter the command in the terminal:
cd C:\Program Files\MongoDB\Server\8.0\bin\ && mongod.exe
4. Creating a .env.dev file and running the frontend part of the project
4.1. Create a .env.dev file with the local server address.
Enter the command in the terminal:
mkdir C:\CRYSTAL\crystal-v1.0\frontend\env && cd C:\CRYSTAL\crystal-v1.0\frontend\env && echo VITE_API_BASE_URL=http://localhost:3000 > .env.dev
4.2. Installing dependencies.
Enter the command:
cd C:\CRYSTAL\crystal-v1.0\frontend && npm i
4.3. Launching the frontend part of the project.
Enter the command:
npm run dev
After a successful launch, the frontend part of the project will be available at:
http://localhost:8200/
5. Creating .env, .env.dev files and launching the backend part of the project
Open an additional terminal window.
5.1. Creating a .env file with a secret JSON Web Token key and administrator email.
Enter the command to create the folder - 'env':
mkdir C:\CRYSTAL\crystal-v1.0\backend\env && cd C:\CRYSTAL\crystal-v1.0\backend\env
Next, you need to set the value of the variable - 'JWT_SECRET_KEY'.
To generate the value of the variable - 'JWT_SECRET_KEY', press the key - 'F12' in the Chrome browser (any modern browser) and enter the following code into the console:
function generateJWTSecretKey(length = 80) {

const charset = "abcdefghijklmnopqrstuvwxyzABCDEFGHIJKLMNOPQRSTUVWXYZ0123456789!@#$%^&*()_+-=[]{}|:,.<>?";
  const array = new Uint8Array(length);
  window.crypto.getRandomValues(array);
  return Array.from(array)
    .map(b => charset[b % charset.length])
    .join('');
}

const jwtSecretKey = generateJWTSecretKey();

console.log(`JWT_SECRET_KEY="${jwtSecretKey}"`);
* The entropy of a key created in this way is approximately 450 to 515 bits.
After entering, you will receive a cryptographically strong - 'JWT_SECRET_KEY'.
Example output in the browser console:
JWT_SECRET_KEY="IW4%ur)Zn5XWqbO[xTYwO&8qi!6<uoi1WZpFTSONl=!cBs5{lA)fV,cgIn}@EP0YSTvnOTsAeIq1A)|X"
Next, enter the command in the terminal with your - 'JWT_SECRET_KEY':
echo JWT_SECRET_KEY="JWT_secret_key" > .env
When registering a user with the same email as in the variable - 'CREATOR_EMAIL', the administrator mode (editing/deleting users and posts) will be enabled.
Change the data in the command below to the desired email:
echo CREATOR_EMAIL=email_for_administrator_mode >> .env
Next, enter the command with the server port, address, and database name:
echo SERVER_PORT=3000>>.env && echo MONGO_BASE_URI=mongodb://127.0.0.1:27017>>.env && echo MONGO_DB_NAME=crystal>>.env
5.2. Creating a .env.dev file.
Enter the command that will create the .env.dev file and add the server environment configuration variables to it:
echo APP_MODE=dev > .env.dev && echo CORS_ORIGIN=true >> .env.dev && echo CORS_CREDENTIALS=true >> .env.dev
5.3. Installing dependencies.
Enter the command:
cd C:\CRYSTAL\crystal-v1.0\backend && npm i
5.4. Launching the backend part of the project.
Enter the command:
npm run dev
After a successful launch, the terminal should display messages - 'Server OK' and 'DB connected'.
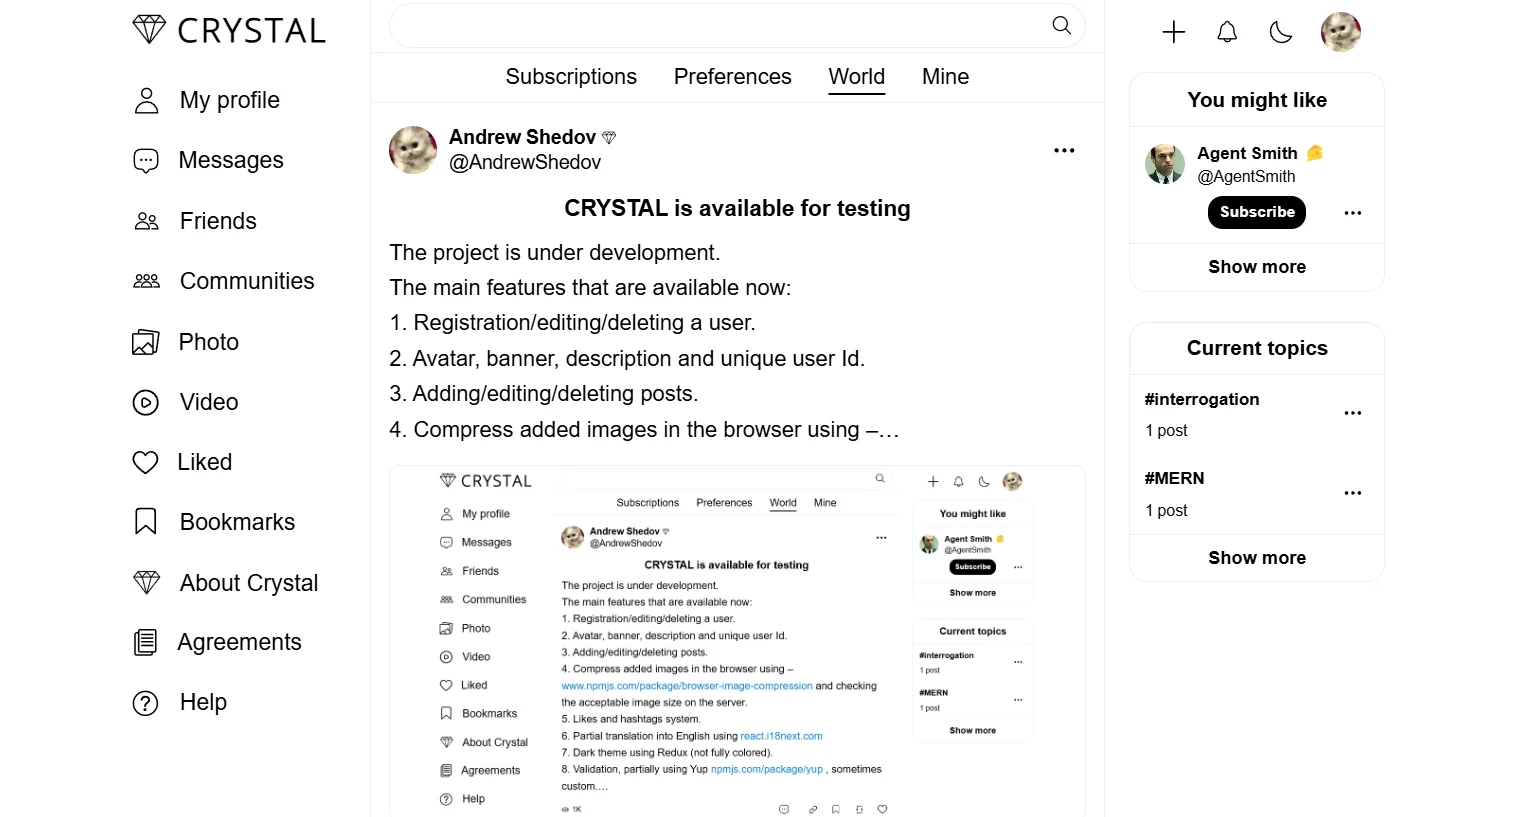
Go to the browser window with the project, at the address - http://localhost:8200/, refresh the page, then register and add a post.
6. MongoDB Compass
Open MongoDB Compass, and click on the button - 'Add new connection', in the field - 'URI', the address should be - 'mongodb://localhost:27017', click the button - 'Save & Connect', after that in the list of databases on the left, a database should appear called - 'crystal', which will have two collections - 'posts' and 'users'.
Share





Comment on